Creative Experiments: Infrared Time Lapse & Post Production Techniques - Course Preview
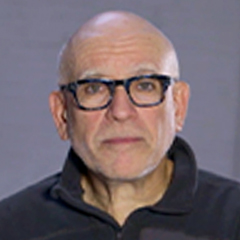
Steve NiedorfYou’ve heard of infrared photography and time lapse videos, and you are curious to know more. In this video series, professional photographer Steve Niedorf shows you what you need to know about infrared photography, time lapse video, and also a variety of post production techniques to improve your overall images. You will learn about infrared photography equipment, external filters, and the camera settings to capture infrared images. He will take you into his editing suite and show you how to create a time lapse video from infrared stills. In Lightroom, Steve will show you how to process HDR frames, how to get rich black and white images from color files, and how to alter your white balance settings to achieve creative portraits.
See all videos in our Creative Experiments: Infrared Time Lapse & Post Production Techniques Course:
- Creative Experiments: Infrared Time Lapse & Post Production Techniques - Course Preview
- Infrared Photography Equipment Guide
- Editing Images for Time Lapse
- Creating a Time Lapse Video from Still Images
- How to Make a Time Lapse Movie
- HDR Processing: Tips and Techniques
- Tips for Converting Images to Black and White
- How to Determine White Balance Settings for Different Light
- Tips for Editing Black and White Photos
If you were to see an infrared image, at first glance it would almost appear like a negative. The sky might be really black. The foliage might be really white, and it might have a real eerie sort of ethereal quality. That's kind of a hallmark of an infrared image. Infrared images are produced in two different ways.
You can use a DSLR camera with a external filter on the lens, or you can use a special back or body, where the digital sensor has been modified in such a way that it receives just the infrared spectrum. Originally, infrared was, of course, film and filter based. So they'd have film that was very sensitive to infrared light. It was a very fast film, kind of grainy, and then they used a really dark red filter just to filter out the visible light. So the only light that actually hit the film was in fact infrared.
The good news is that for photographers that wanna do something a little different, a little bit more creative, give something a different look, infrared photography is really easy to do and very popular.


How do you emulate the ethereal infrared look with a mirrorless camera?