How to Use Lightroom AI Masking
David JohnstonDescription
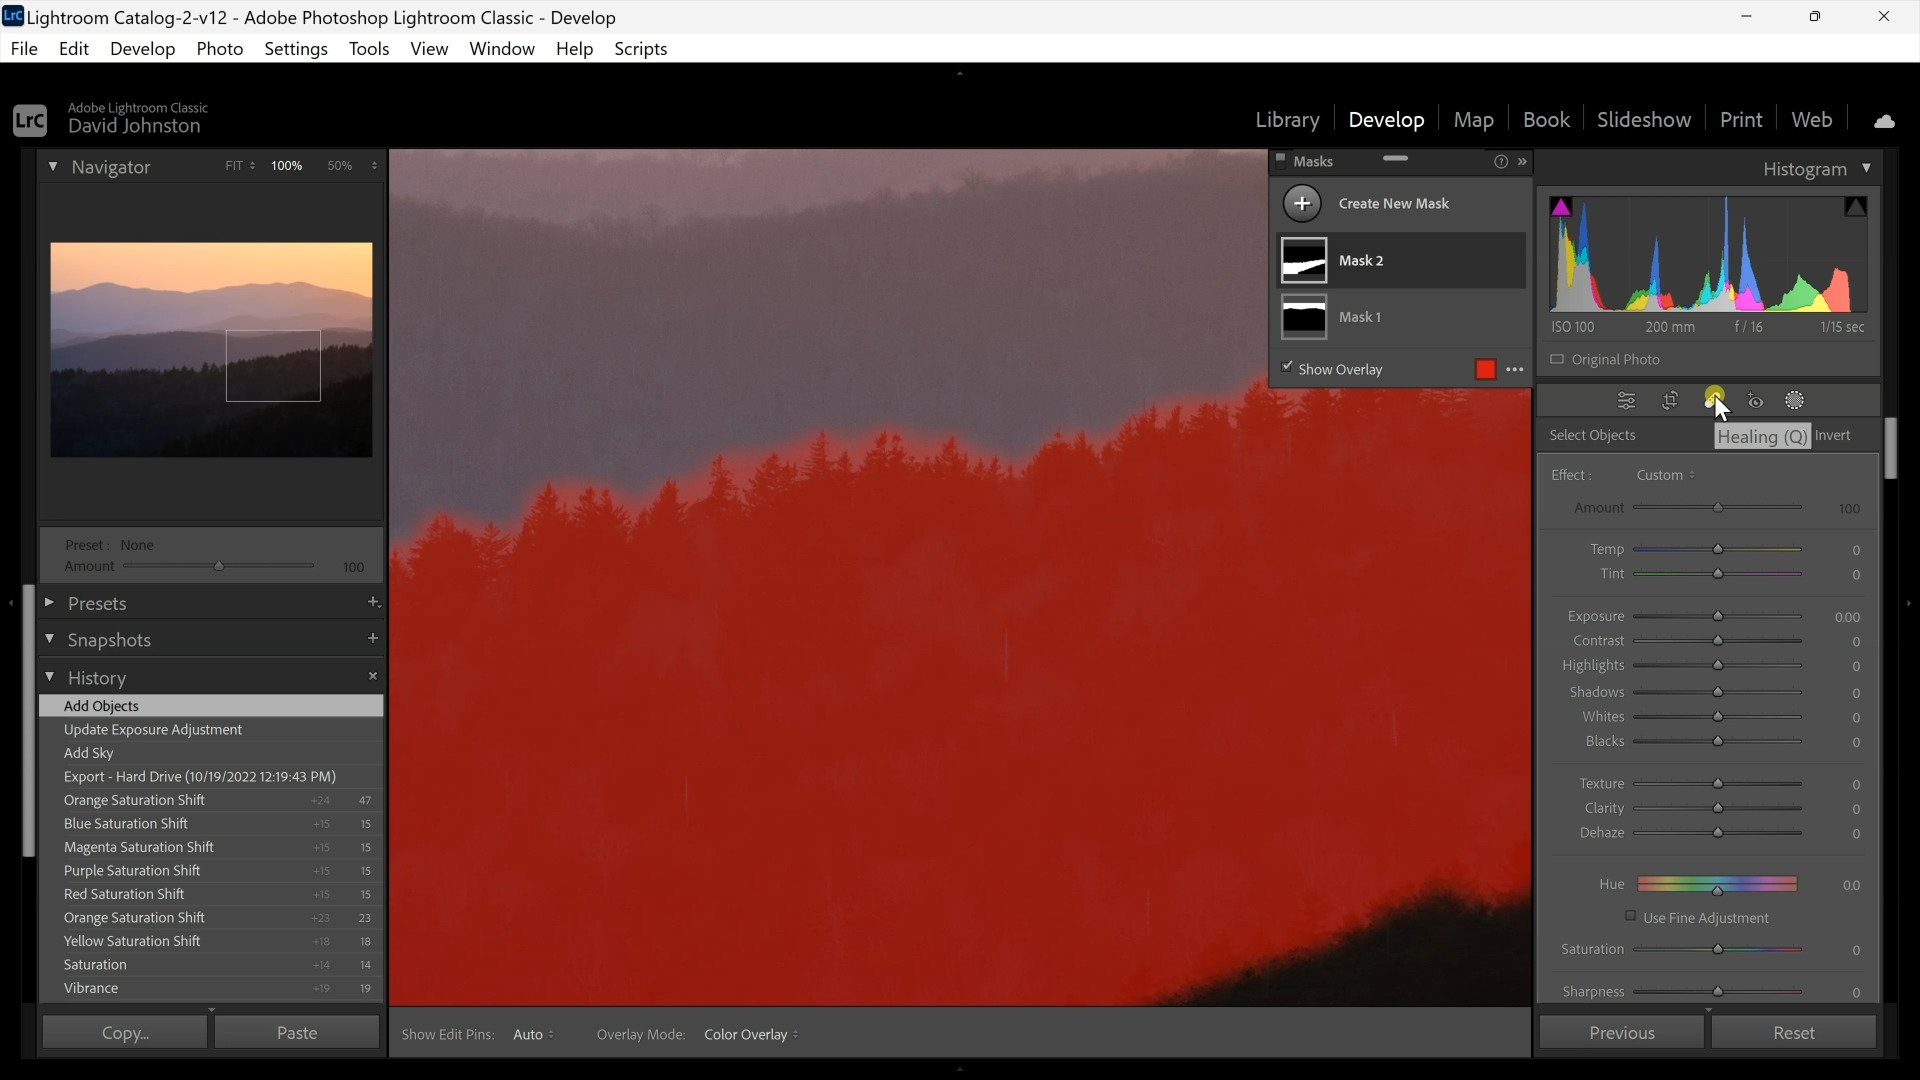
Lightroom’s AI masking feature provides the solution. David starts with his dramatic image of the Smoky Mountains at sunset, stacked layers of ridges, trees, and shadows, and a yellow sky. His goal is to alter the sky color. In the Develop module, he clicks on the AI masking icon. Enter Artificial Intelligence, which works to alter or replace composition elements. David clicks on the Sky option. AI masking then picks out the sky as a mask. Using the adjustment tools, he adjusts the exposure, and the sky takes on a golden hue.
David shows how you can then select a new mask, which gives you a choice of Sky, Background, People, and Objects. With a sweeping stroke of the brush tool, he is able to mask the dark tree line in the foreground. He uses AI masking tools to change the shadows and exposure for subtle adjustments. With the use of another mask, he can take the AI masking feature and isolate the layers of mountain ridges and make additional edits. But be careful. If you make extreme adjustments with this tool, you may end up with ghosting or bleeding, rims of white around a selected area.
The purpose of Lightroom AI masking is to make quick edits and general adjustments to enhance selected sections of your compositions. In this premium video lesson Outdoor Photography Guide’s David Johnston walks you through techniques to analyze and refine your photographs. If you learn these new techniques, we bet you will like the results.
