Difficult Lighting Situations in Outdoor Photography
David JohnstonDescription
So, what are those three types and how do you photograph a successful image when the lighting is difficult? In this video, I’ll take you with me to the Outer Banks in North Carolina to explain a quick guide to light as well as how to overcome difficult lighting situations with multiple exposure photography.
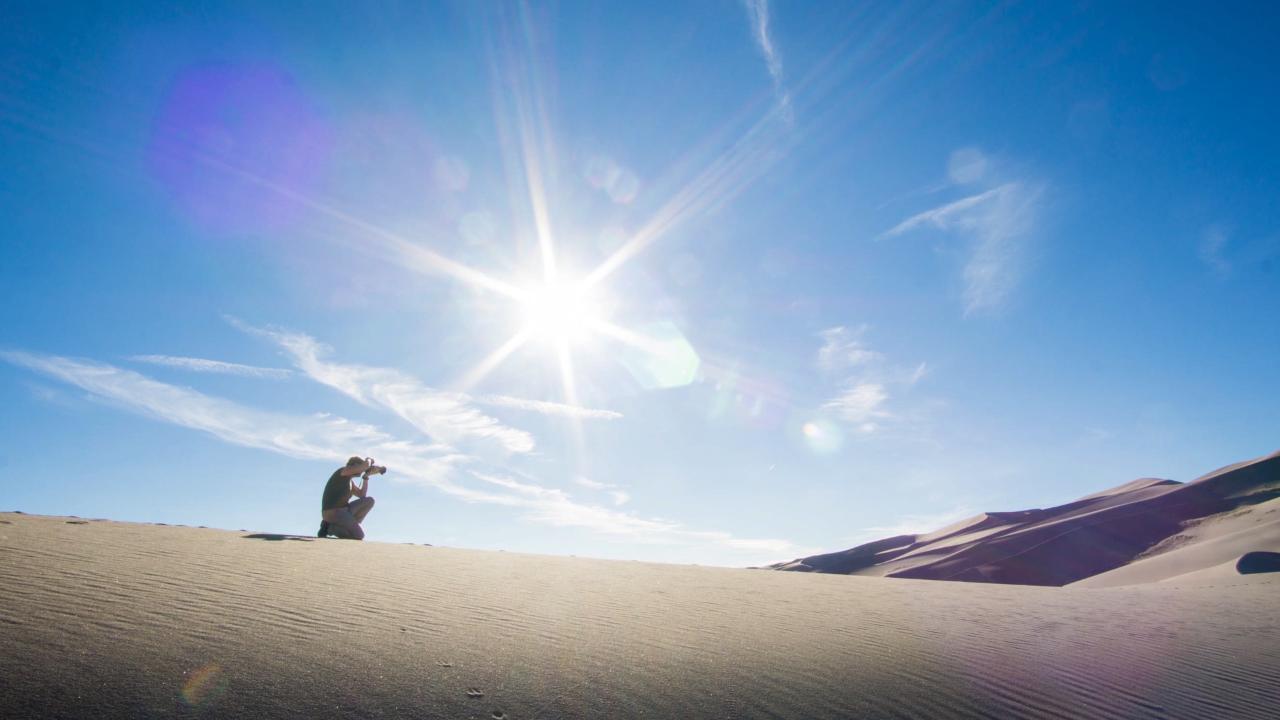
Hey, what's up guys? Professional outdoor photographer David Johnson here and I'm out in Jockey's Ridge State Park in the outer banks of North Carolina. I'm trying to get great lighting here as the sun continues to go down over the horizon. Some of the basic things that you need to know about lighting and difficult lighting situation are that there're basically three types of lighting in outdoor photography and they all depend on the subject that you're shooting. So back lighting is going to be to where the sun is at the back of your subject.
This is typically going to be in sunrise and sunset if you're shooting towards the sun. Side lighting is a little bit different. Side lighting is where the sunlight is coming in on the side of your frame and illuminating your subject from the side and then front lighting is when the sunlight is hitting your subject dead on the face. This is gonna be in those situations where the sun is behind you, you're in the middle and your subject's in front of you. But sometimes there are difficult lighting situations like we're gonna have today.
What I'm trying to do today is find a good composition here that uses sand ridges that allow me to use highlights and shadows and build contrast but sometimes using a single exposure is difficult to do. So basically what I'm going to be doing is shooting a low perspective of the composition that you see right behind me photographing the ridges as my foreground. Now, I'm gonna be using the Fuji X-T30 with a 35 millimeter F2 lens. This is going to allow me to photograph this and kind of compress those distances a little bit with the 35 millimeter lens and also use those highlights and shadows with the bracketing feature that it has. A lot of cameras are built in with this now and allow photographers to create three exposures really quickly and photograph to get one underexposed photo, one properly exposed photo and then one overexposed photo.
And then you merge those together in post-processing to create a photo that gets a lot of that dynamic range into your image as well as creates a good photo out of a really difficult lighting situation. Let's get into the computer and see exactly really quick how we do this. So once you get all of your photos into Lightroom you simply select the first one in the sequence, hold down your shift key and select the last one. Then you're gonna right click and go to photo merge, HDR. This is gonna prompt Lightroom to merge all three exposures into one image that you can use to see subtle differences in your lighting and help you capture more lighting effects that may be difficult to capture in the field into one image.
Once the three exposures are merged you'll see a preview of that and you always want to have auto align selected in case your camera moved or shifted during the shots. And then have deghosting on high just because you don't want those highlighted or haloed areas in the ghosting of your image. And then you're just gonna hit merge. So here's the image that we're working with. All I'm going to do is increase my contrast a little bit to create more detail within the frame.
My exposure is really good. If you look at the histogram a lot of the exposure is within the mid-tones, the highlights and we have some shadows down here and the sea grasses and the dune ridges. I'm just gonna pull my shadows down and then I'm going to pull my highlights up just a little bit. And then I'm going to create more texture and increase my clarity in this photo and that makes those edges of the sand dunes kind of pop out. And then I'm gonna increase my vibrance a pretty good amount and then saturation too just to give it that little bit of pop of color in the sand and in the sky.
Lastly, just one simple adjustment I'm gonna make is I'm gonna select my adjustment brush and I'm going to work with my clarity down in the sand ridges. I'm just gonna paint in a really dark exposure so that I can see where I'm painting within this image. I'm just gonna paint that little foreground area, I'm gonna double click on exposure to bring that back. I'm gonna increase contrast, increase highlights and decrease shadows to allow me to create more separation between highlights and shadows. And then I'm going to increase my clarity in that section as well.
Then I'm gonna hit done and this is the final image that we're working with to create a more intact version of what we saw in the field using difficult lighting and what we know about side lighting in this specific photograph.

Very good explanation. Clear and concise Aren’t the outer banks fabulous? Went there last summer and plan to return again this summer. Wild horses! Care to join in the fun?