Creating a Time Lapse Video from Still Images
Steve Niedorf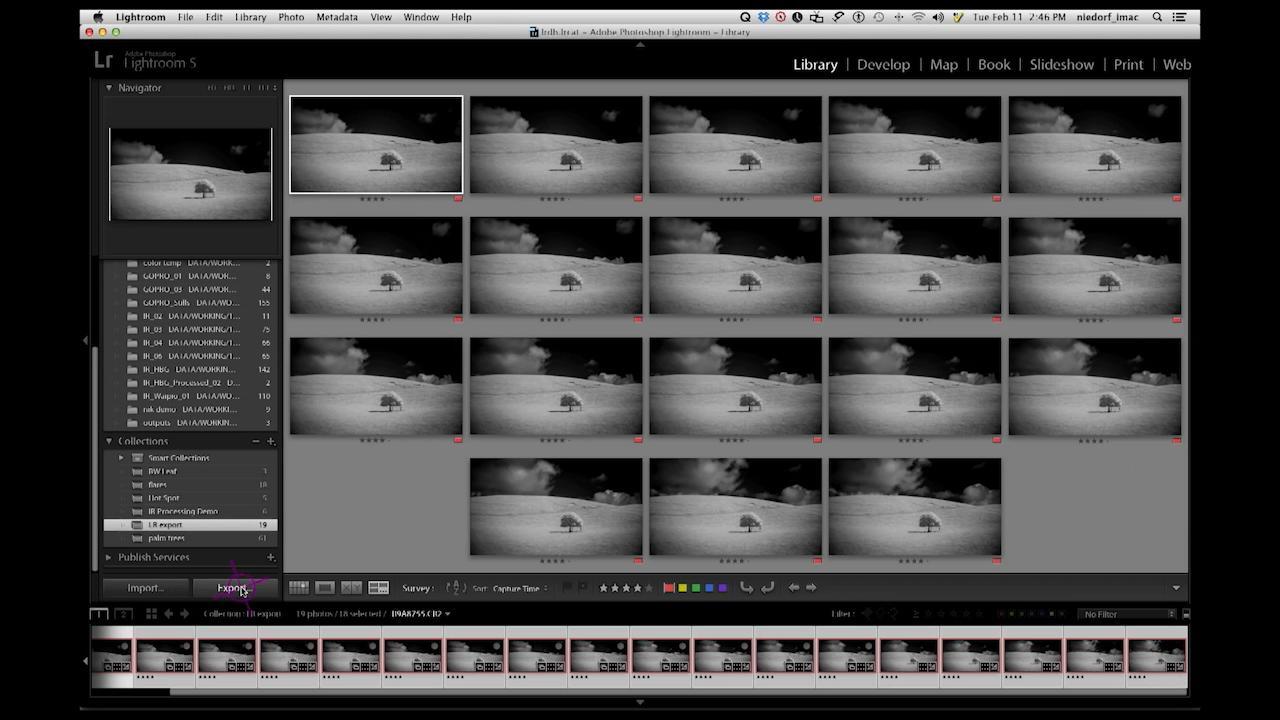
Video Player is loading.
Description
Once you’ve completed processing your infrared still images, you are set to go into the time lapse process. In this video, professional photographer Steve Niedorf shows you how to edit images in time lapse video. But before you export your stills, you need to crop them for the video format. Steve suggests exporting about 20 still images in high resolution jpegs for a two second time lapse. As an alternative, he shows you a slide show option, each image appearing for one second with a half second fade, and then exported as a video clip. In Premiere Pro video editing, he shows you how to set your still image default duration to decide how long each frame should be. Finally, Steve takes you through the editing steps that control the sequencing, speed and duration. He suggests that you experiment with manipulating the timeline.
Be sure to check out our video on how to shoot time lapse photos!

See all videos in our Creative Experiments: Infrared Time Lapse & Post Production Techniques Course:
- Creative Experiments: Infrared Time Lapse & Post Production Techniques – Course Preview
- Infrared Photography Equipment Guide
- Editing Images for Time Lapse
- Creating a Time Lapse Video from Still Images
- How to Make a Time Lapse Movie
- HDR Processing: Tips and Techniques
- Tips for Converting Images to Black and White
- How to Determine White Balance Settings for Different Light
- Tips for Editing Black and White Photos