How to Choose the Right Editing Software
David Johnston
Description
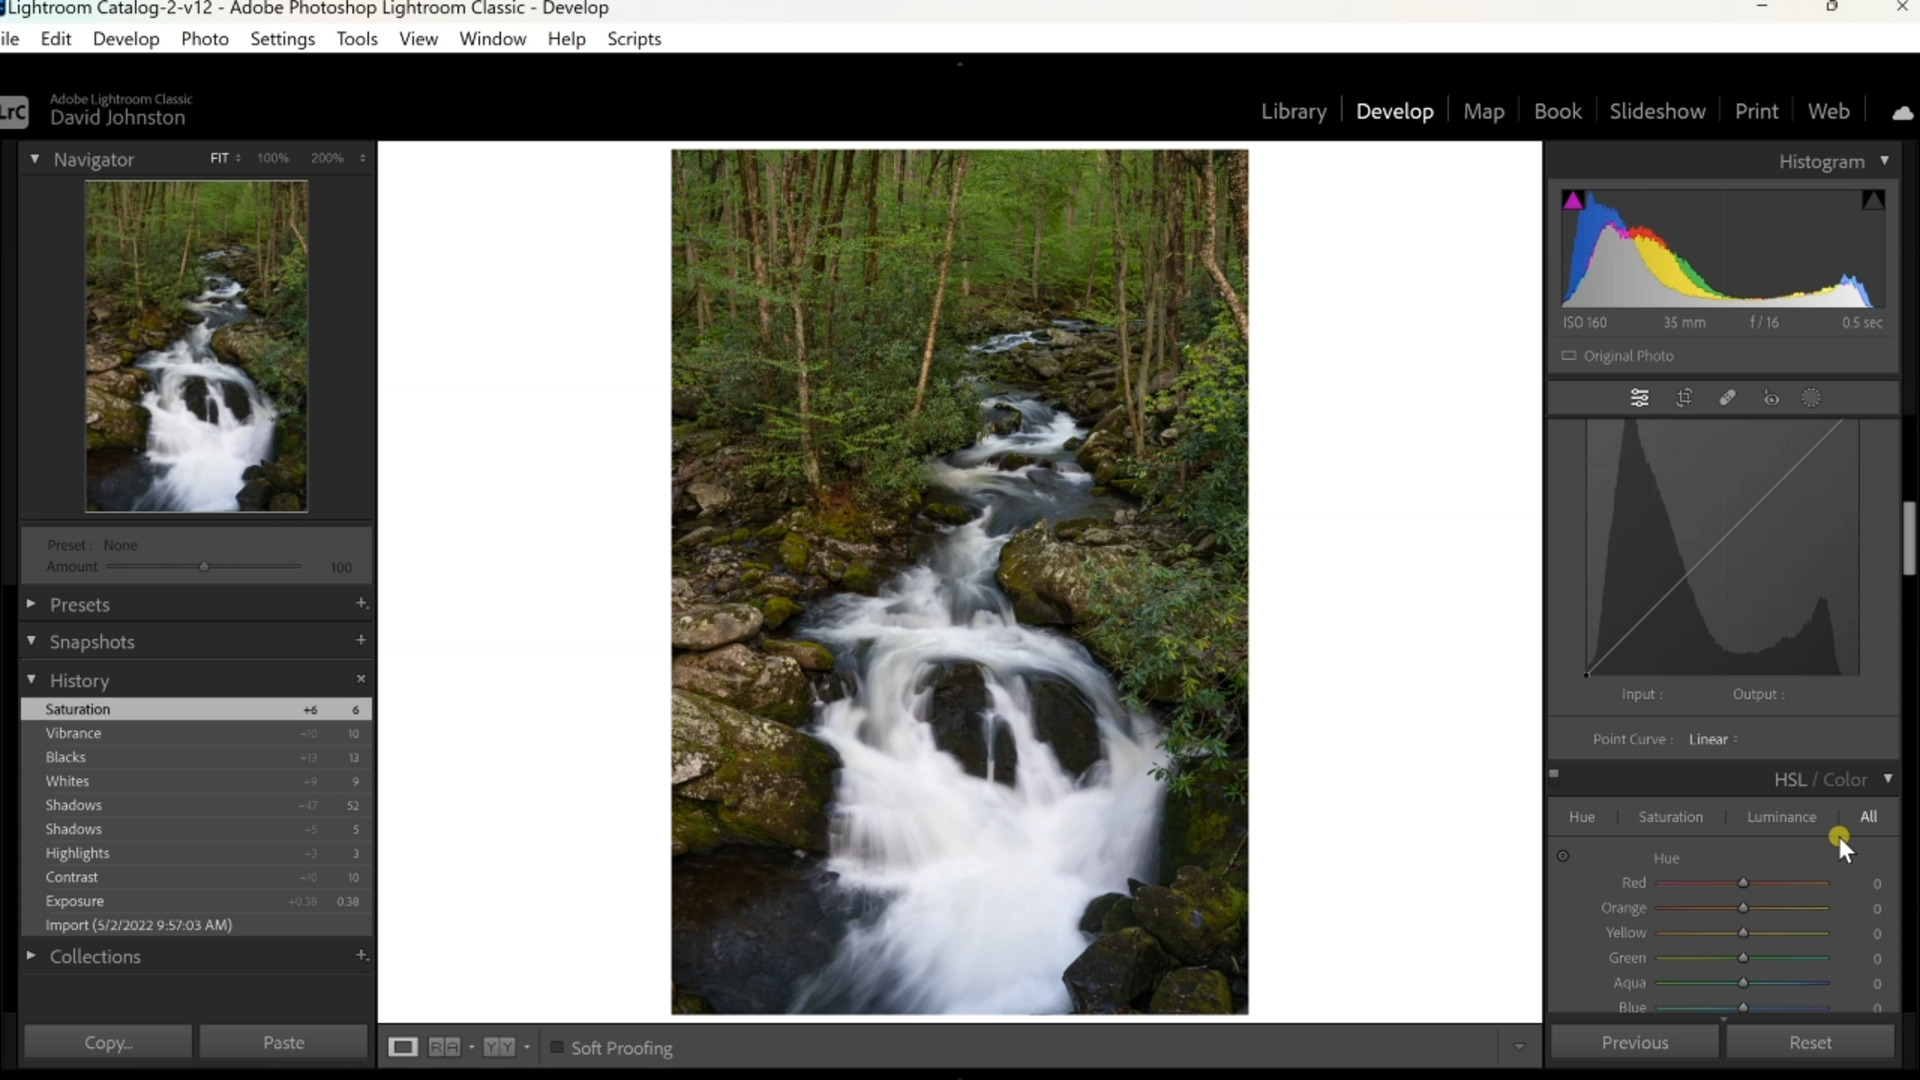
To compare each editing software program, he uses his same image, waterfalls cascading through the forest. He starts with Lightroom. To alter the image, he works with numerous Lightroom slider tools. His image is slightly dark, and he increases the exposure. To separate the white waterfalls from the dark green forest, he increases the contrast.
Next, he increases the highlights, shadows, whites and blacks. These edits are designed to draw more attention to the waterfalls. By increasing vibrance and saturation, he enhances the colors. David then experiments with the more complex slider tools, hue, saturation, luminance, and calibration in order to play around with the colors. Since the forest dominates his image, he pumps up the green to create a glowing effect.
To show the difference in editing software programs, he moves on to Luminar, which relies on preset collections. Examples include Easy Landscapes, Overcast, Sunsets, Closeups, Scenery, and Big City Lights. Each preset has already made the editing software adjustments to help program your image. By way of example, David chooses the Easy Landscapes collection and the forest green tool to improve the forest in his waterfalls image. In Luminar, you can dig deeper by using sliders for each preset collection.
In choosing editing software, Lightroom affords you more precise detail, while Luminar, with its presets, is faster and simpler. In this premium video, How to Choose the Right Editing Software, Outdoor Photography Guide’s pro photographer David Johnston edits the same image in Lightroom and Luminar, and lets you decide which program will work best for your editing software needs.