Early blooming flowers provide plenty of opportunities to take great pictures in spring. The variety of colors and species available make for endless creative possibilities. We are also more sensitive to colors after a less saturated winter.
Of course, there is always an impulse to imitate pictures we have seen and liked, pictures that inspired us to discover nature by trying photography. This is part of the evaluation process, but do not forget those images have been done. If you want your own successes, try to avoid the classics! Try to find another approach. Flowers are good subjects, since they do not fly or run away.
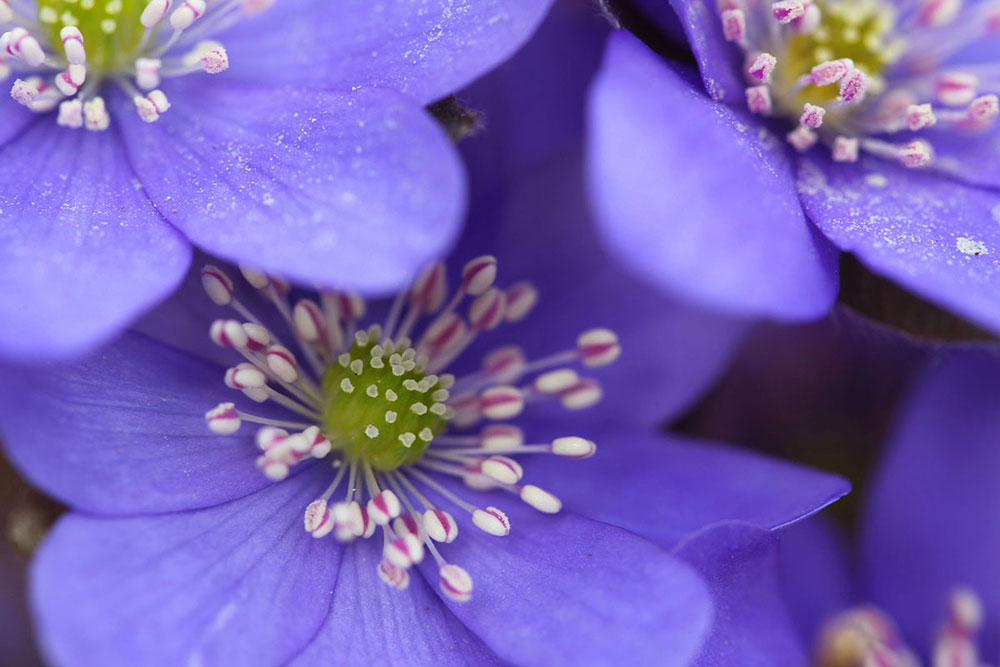
Canon EOS-1D Mark IV, 100mm focal length, ISO 100, f/5.6, 1/6 sec.
Where to Start?
One very fine example of an early blooming flower is liverwort (Hepatica nobilis). It is a very popular subject and has been photographed many, many times. With especially overexposed subjects—or just in general—take your time. Sometimes I just lie down on the ground beside some flowers and try to get used to them. I do some snapshots to have an idea about the necessary exposure time, f-stop, and focal length. Just a good shot of a flower will not attract too many fans or clients. Luckily, this species develops several flowers at the same time, so you can play with a repeating subject in the frame. They do not have to be “twins.” One sharp image is enough; the others can be blurry in the foreground or background. I strongly believe that this picture has been taken and sold so many times specifically because of these guidelines.
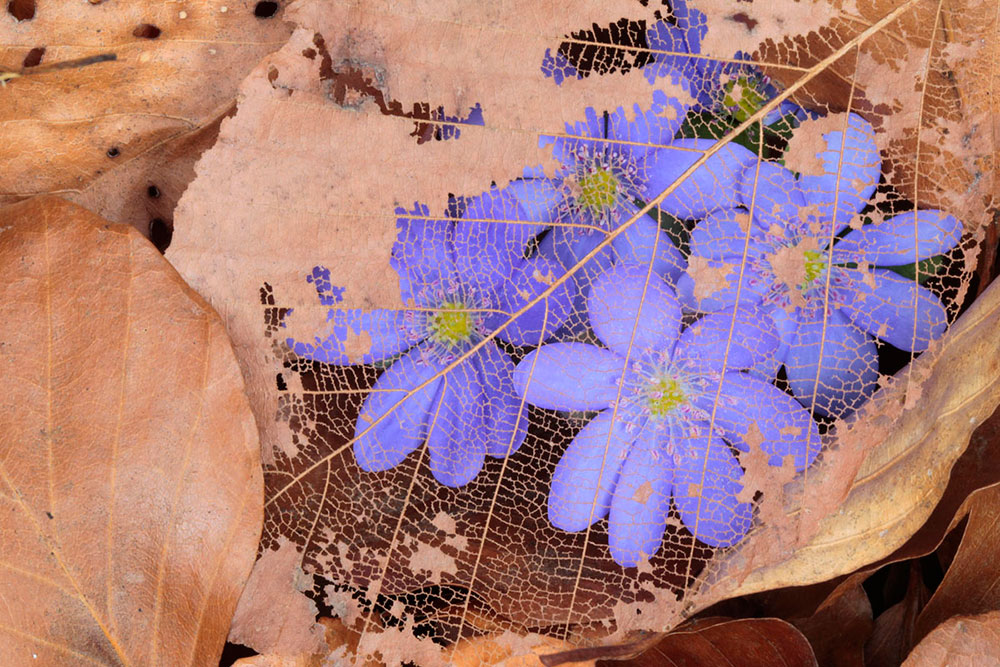
Canon EOS-1D Mark IV, 100mm focal length, ISO 160, f/32, 3.2 sec.
The subject does not have to be completely visible. Just like in many other cases, less can be more. It took me many years of taking pictures of liverwort to find a situation like that—flowers behind the lace of a partially decomposed beech tree leaf. At first, it looked like a miracle for me. If you want find a situation like that, you should walk along a stream. Leaves can decompose perfectly in water during winter and the level of streams can dramatically change. If these leaves get on dry land, they can be blown away by the wind until they find themselves in your perfect shot.
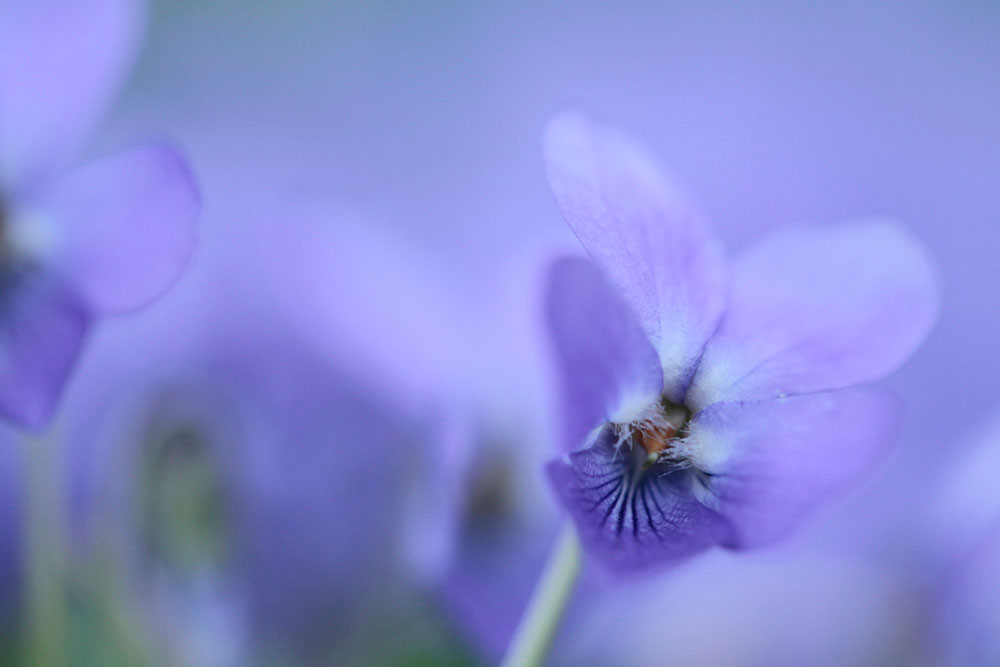
Canon EOS-1D Mark IV, 100mm focal length, ISO 800, f/2.8, 1/250 sec.
What’s Your Angle?
Finding the right angle can take a lot of time! For example, taking a picture of a wood violet (Viola odorata) is quite difficult. It has a fantastic odor, but as a photographer, I cannot do anything with that! Flowers with short stems facing to the side instead of upwards can get lost in the undergrowth. So it is better to use a longer focal length. I try to focus on a nice looking, complete flower.
Here is the next question: where to focus? Because this flower is not “flat,” it is critical to find a good focal point, where viewers’ eyes can rest. It is good to find something with significant contrast. With this example, the wood violet’s pattern bears additional information you can write about: it helps provide the right path for pollinators, directing them toward the nectar and pollen.
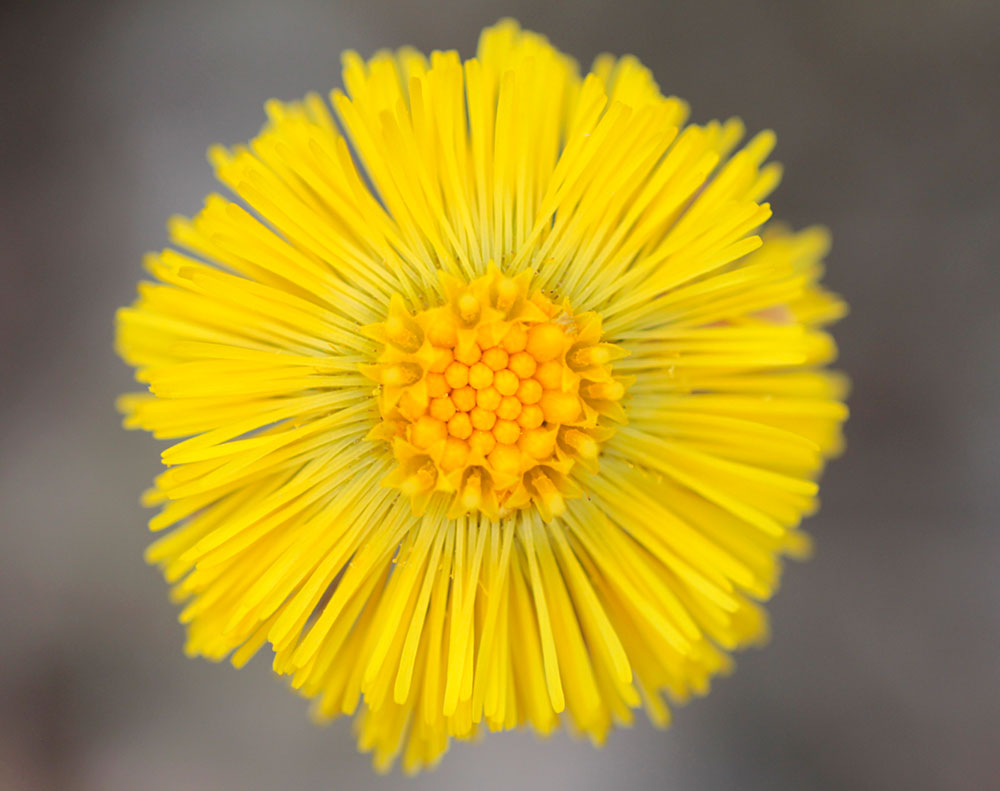
Canon EOS-1D Mark IV, 100mm focal length, ISO 400, f/2.8, 1/640 sec.
If you have a species or specimen with a straight, upright flower, you might consider it an opportunity to explore the “levitation effect.” Coltsfoot is a typical example for that. In this case, try shooting from completely over the flower, with the axis of the lens aligned with the stem. You can check by carefully focusing from the flower to the ground. If you do not see the stem anywhere, you’re lined up. Use the smallest amount of f-stop, if you can. I prefer lenses that start at 2.8, but this is not the only solution. You need to be especially careful in this case to show the characteristics of the flower. You might use f8.0 or even more, especially in the case of a long stem. However, it is better to use 2.8 with careful focus to have a blurry background, which gives the levitation effect.
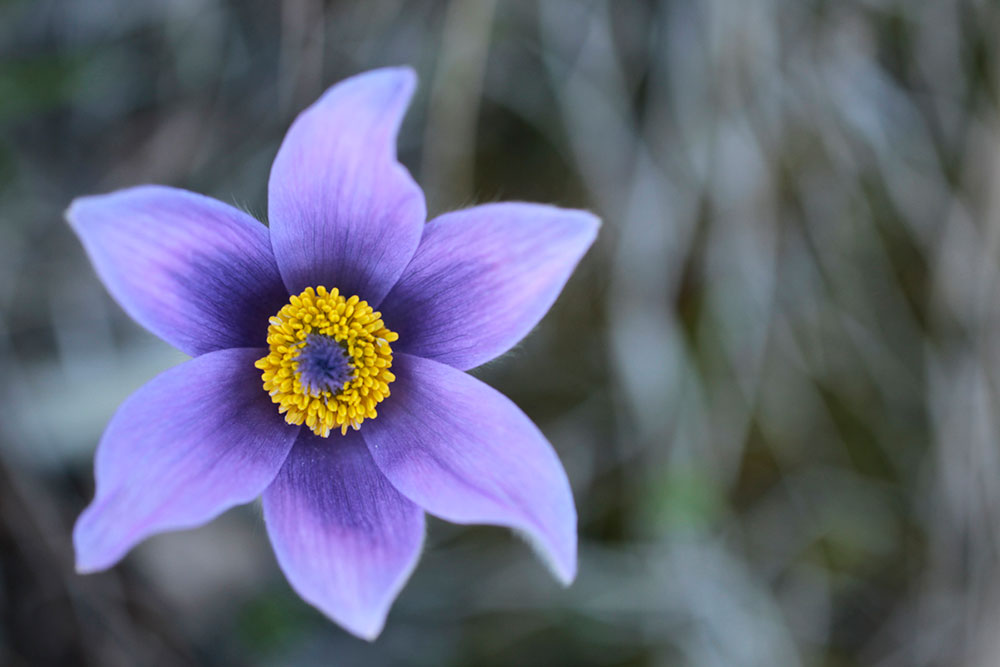
Canon EOS-1D Mark IV, 100mm focal length, ISO 400, f/2.8, 1/500 sec.
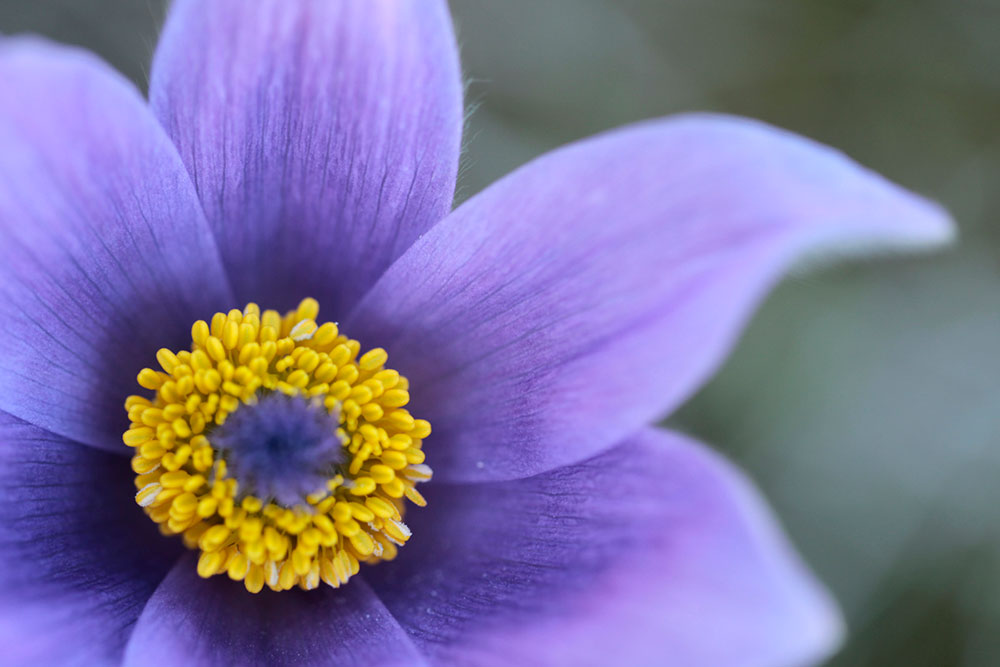
Canon EOS-1D Mark IV, 100mm focal length, ISO 400, f/2.8, 1/250 sec.
How Close Should You Get?
The desired closeness of the shot really depends on what you would like to do with it. Do you want to send the pictures to a contest, upload your images to a social media platform, or sell them to an agency? Never forget that clients prefer copy space in their photos. So if you want to sell them, you should leave as much space as possible around the flower. As a guideline I would say it is better to leave at least one third of the frame empty.
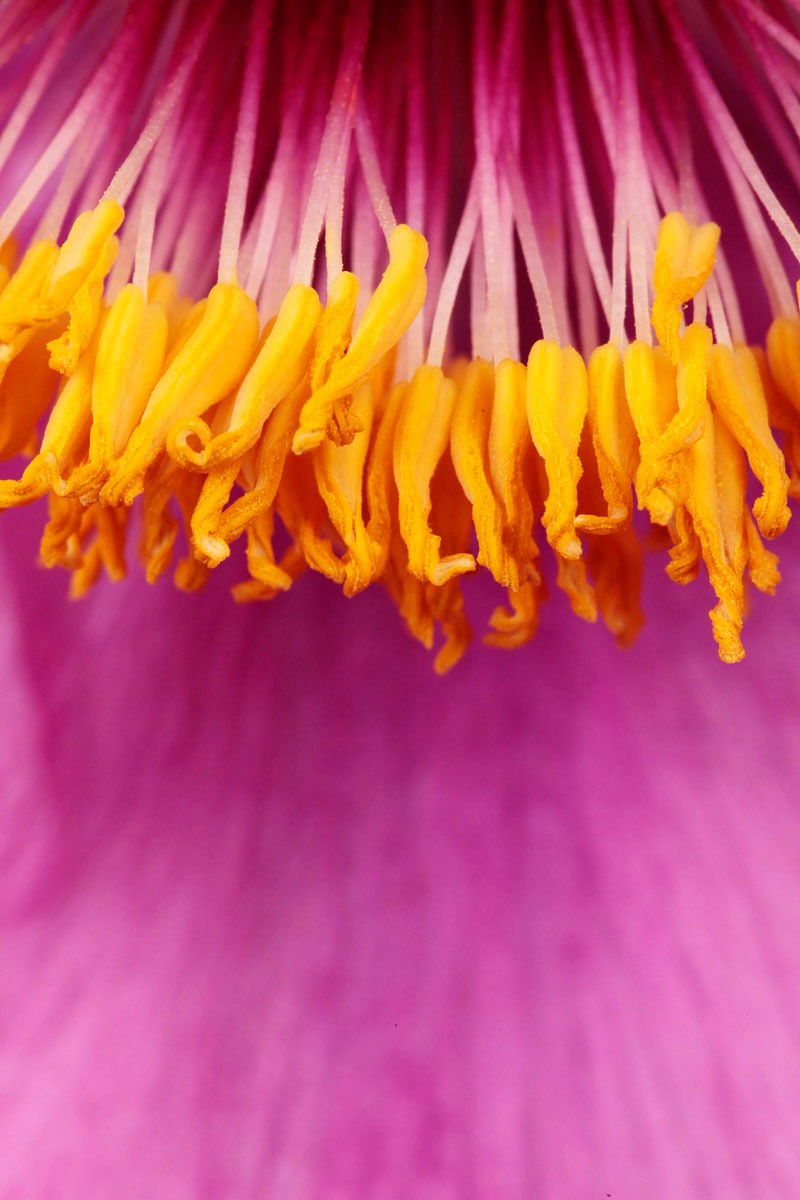
Canon EOS-1D Mark IV, 100mm focal length, ISO 400, f/14, 1/250 sec.
On the other hand, you can go as far as to leave only one quarter for the subject. However, adhering to a specific ratio is not nearly as important as keeping the object attractive in the picture. Agencies and clients are not really interested in shots where they need to add copy space with Photoshop. It is just easier to crop than to add. Moreover, a growing number of contests allow cropping. Do not forget, sometimes part of the flower tells more or is just more exciting than the complete one.
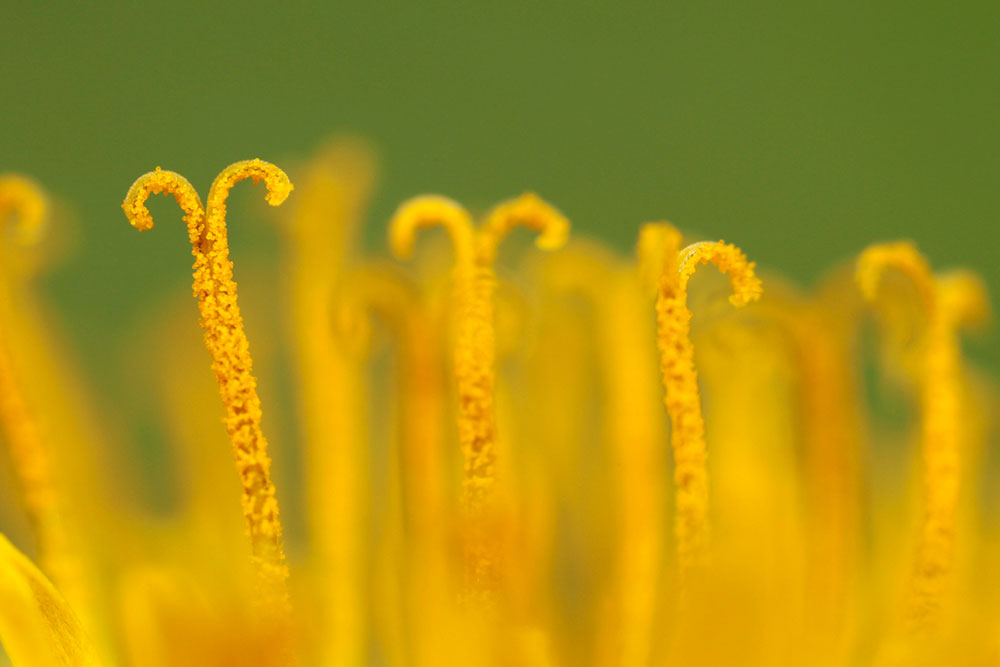
Canon EOS-1D Mark IV, 65mm focal length, ISO 200, f/4.5, 1/250 sec.
If you want to take the perfect, most highly desired shot, which is obviously eye-catching and raises a lot of likes or wins an award, you must forget about copy space. Just do the best you can, but try not to forget to take some distant shots as well, especially if the same species can be found in a mass in a nice environment. Wide-angle shots can be really dramatic and tell a completely different story.
Canon EOS-1D Mark IV, 100mm focal length, ISO 250, f/5, 1/15 sec.
When is Best?
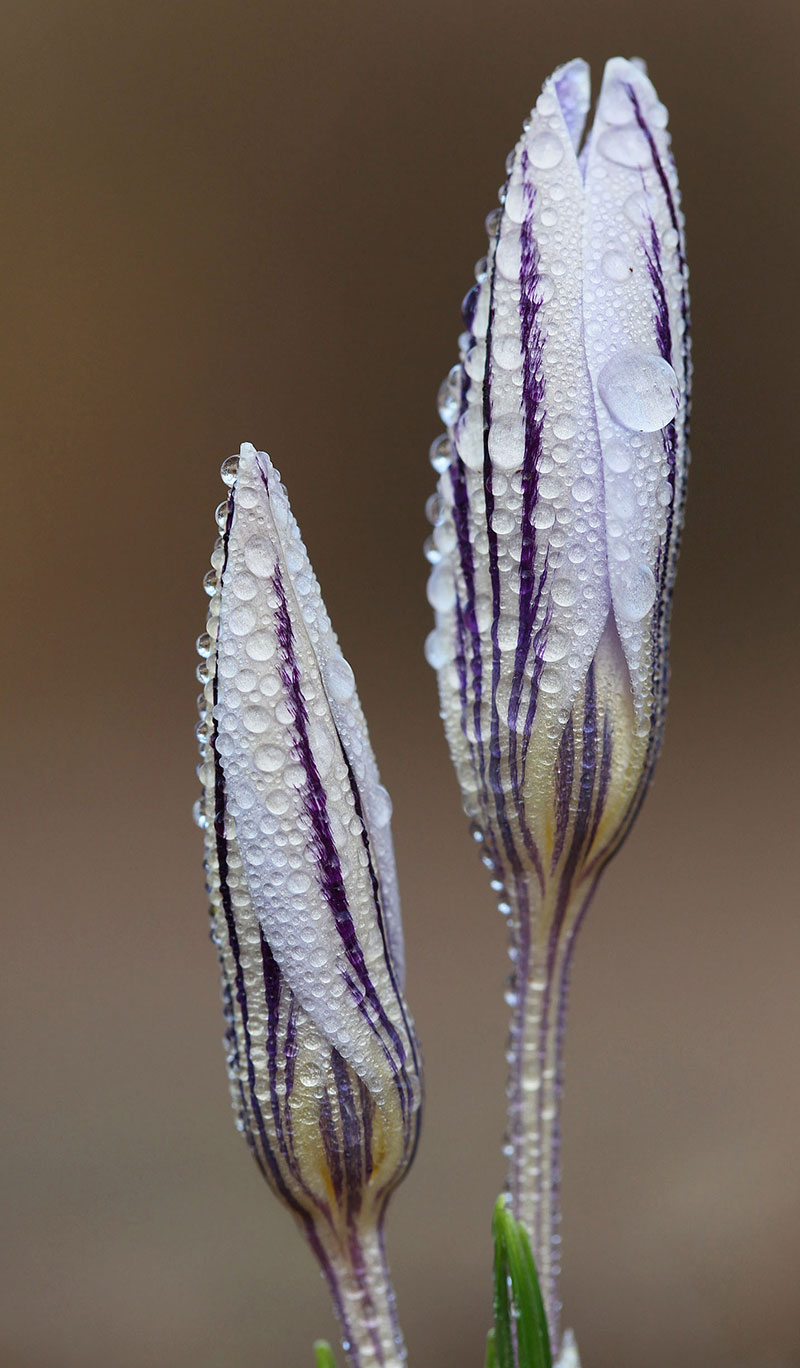
Though unexpected, even flowers have their own behaviors. Study that too! Many of them do not open their petals in early morning, like liverwort or crocus species. The blooms of many species depend on the temperature—some can close their petals even during the day—while others act strictly according to their daily rhythms. However, unlike liverwort, crocus can be a really exciting subject with closed petals. Spring meadow saffron (Crocus reticulatus) is especially so, as it has lines outside that are not so visible with open petals. If you catch them on a humid morning, there will be lots of details to see in the frame!
Note: Full bloom is not the most attractive stage all the time. Sometimes a picture is even more catching and unusual with closed petals.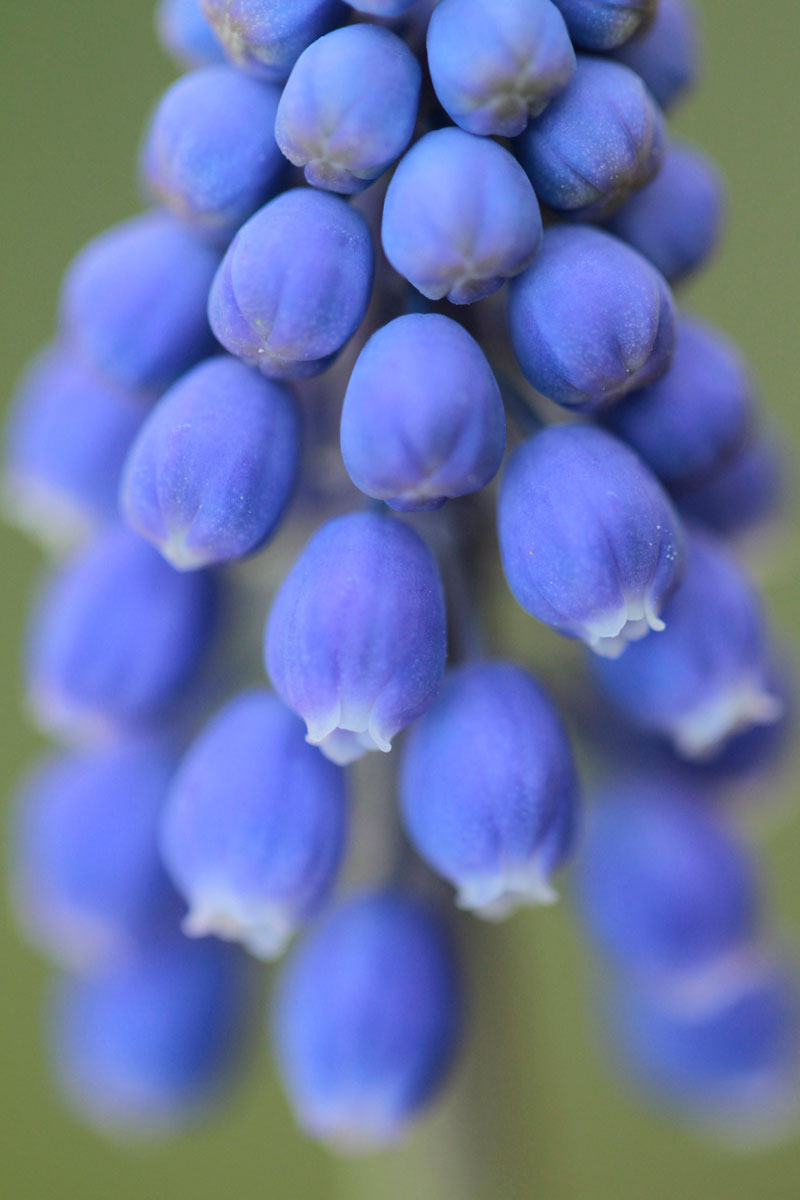
Canon EOS-1D Mark IV, 100mm focal length, ISO 800, f/2.8, 1/500 sec.
What’s the Right Light?
There are plenty of opportunities to experiment with light and its effects, since flowers do not run away. You can play with the light! Many people try to shoot flowers in full, direct light, but just because there is sunshine in spring bringing the flowers to bloom does not that is the only option. I always suggest seeing the same subject in diffused light.
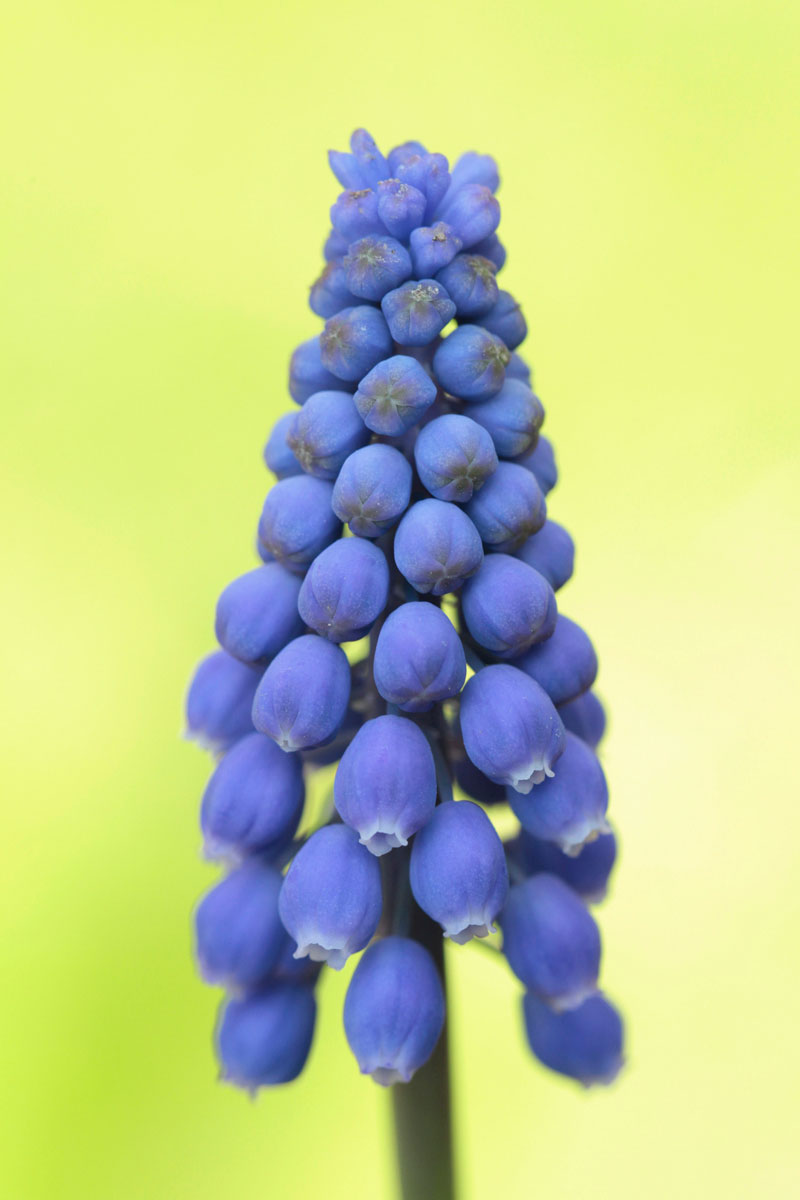
Canon EOS-1D Mark IV, 100mm focal length, ISO 400, f/5.6, 1/160 sec.
Many times I create shadows with my own body. Interesting pictures can result if the object is in shadow but the background is in sunshine. You need to be careful about the right exposure, but the result can be remarkable. Color temperatures are different, and these kinds of images are still rare.
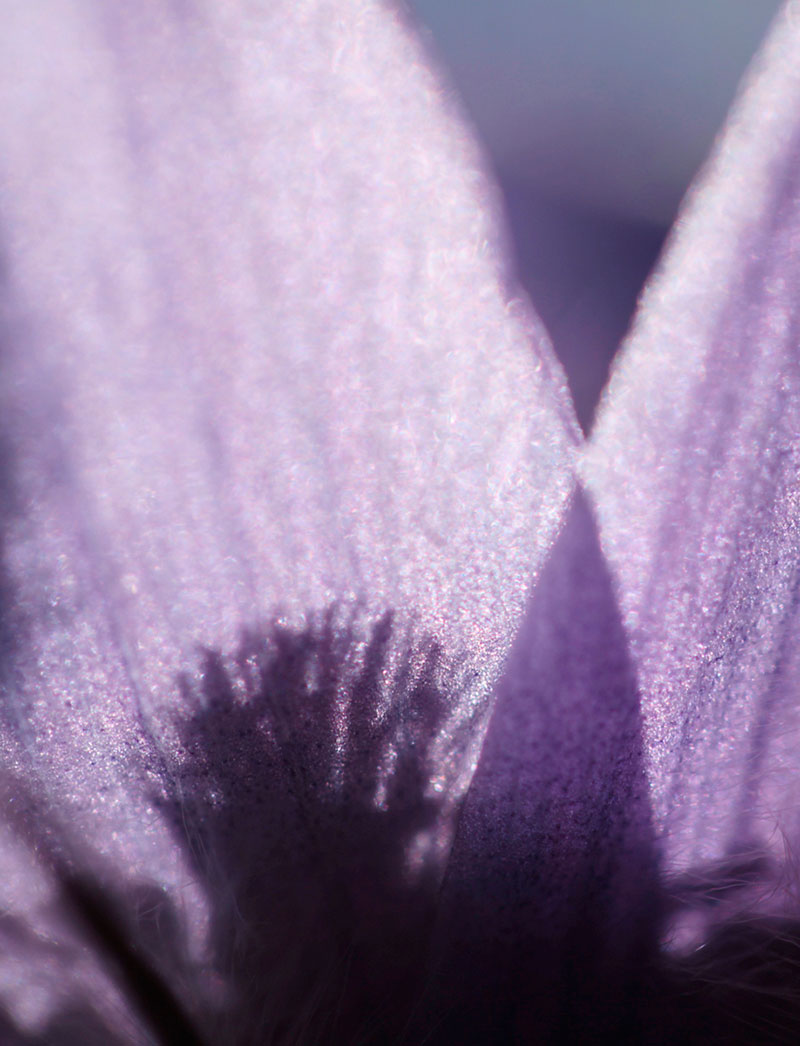
Canon EOS-1D Mark IV, 100mm focal length, ISO 100, f/2.8, 1/2500 sec.
Find backlight or create it with a strobe! I always try to do so, especially with flowers where most of the petals are thin and a bit transparent. These can create amazing results, but be sure the image is underexposed.
What Comes Next?
Preparation and planning are very important, even if you just go out to the forest spontaneously. Be prepared for the species you wish to photograph—when and where do they bloom? Plan your equipment as well—you do not need your complete arsenal, but it’s better to have a bit more than less. Do not forget that in cases of macro-photography you need to have pin-sharp details (in most cases), where the viewer can focus. So be sure you have the right accessories with you: strobe, tripod, monopod, and beanbag.
Composition is the soul of the picture. Compose with a handheld at first, and then fix your camera for the shot. Finally, play with the light! Whatever you have in the moment might be perfect, but there are plenty of opportunities to make your picture more attractive by creating shadow or backlighting. Ultimately, the right light, angle, zoom, and framing are determined by your eye, your intentions, and your subject. So, get snapping!
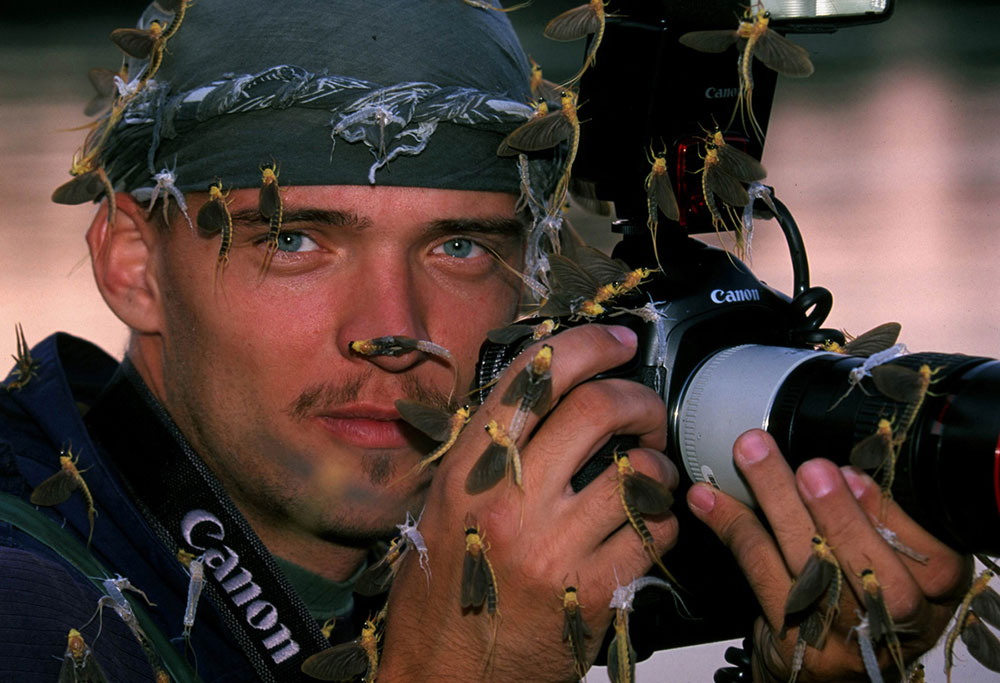 About the Author: Joe Petersburger is a multiple award winning National Geographic contributing photographer, professor in biology, and passionate speaker. His main message as a conservationist is: "Travel less, discover your backyard, reduce your ecological footprint!" You can see his recent work titled "My Garden: Wild Animals in the Neighborhood" at his website: www.joepetersburger.com. Follow him on Instagram at @joepetersburger.
Have something to add to the story? Leave a comment or email editor@outdoorphotographyguide.com.

I notice you only talk about flowers but if you went out to that same spot a week or so earlier you would have had the opportunity to take photos of buds at various stages of growth. And maybe you could come back a number of times. I am in the process of following buds on my maple tree but I can’t find info to help me out do a better job. Do you know where I can get detailed info to help improve my shots. Thanks
A text clear and objective is all we need. Congratulations!