There are few sights in nature that are as awe-inspiring as being high up a mountain, looking down upon a sea of clouds. Getting above the clouds doesn’t happen often, but when it does, it presents many unique photographic opportunities.
Learn the weather patterns that create fog.
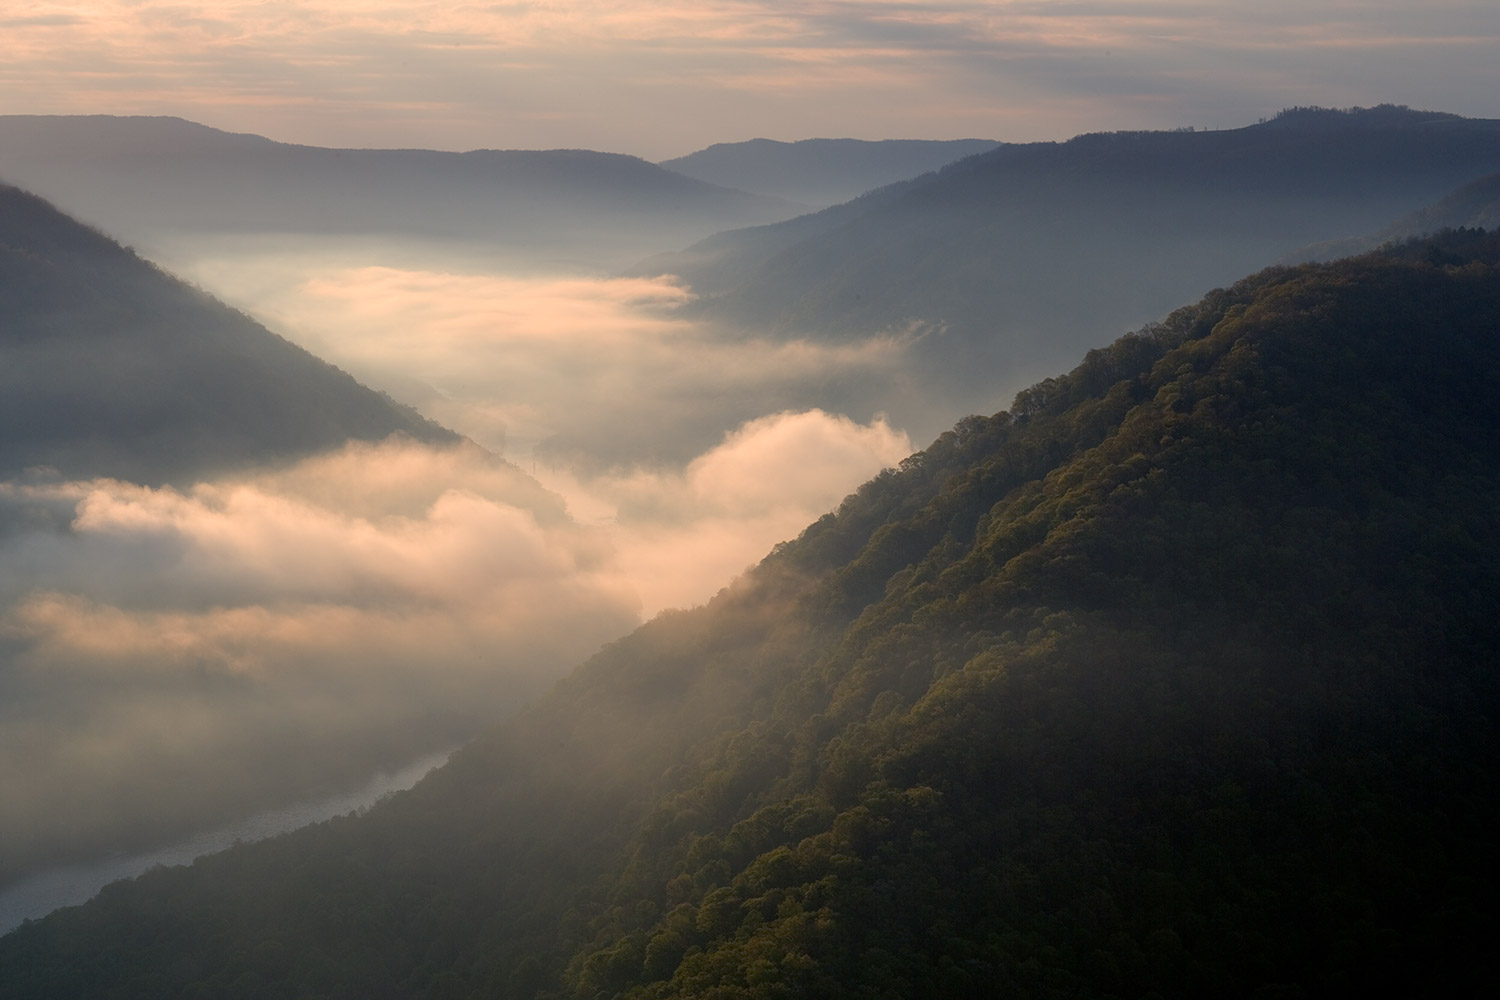
Usually, getting above the clouds means getting above ground fog. The best recipe for fog is humid air and cooling temperatures; fog is most likely to occur overnight and in the morning as the air naturally cools when it is dark (although fog can form during the day as well). Rain followed by clearing skies and cooling weather at night often produces valley fog the next morning. Moist areas with mountains are especially prone to fog.
Related eBook: Chasing the Light by Ian Plant
Get to someplace high.
If you have easy road access to high mountain areas, getting above the clouds is not difficult, assuming conditions are right. Be careful when driving through fog on your way to or from higher elevations. Visibility will typically be very limited (especially if you are traveling in the dark before sunrise or after sunset), and the road might be slick and wet. Give yourself plenty of extra time, and drive slow; there’s no need to risk a collision just because you are racing to catch good light! Of course, if you don’t have roads and you are in good shape, you can always wake up early and hike up a hill or mountain in the dark so that you can be above the clouds for sunrise. In either event, be prepared for cold, rainy, or windy weather.
Related video: Photographing Sunsets Tips and Techniques
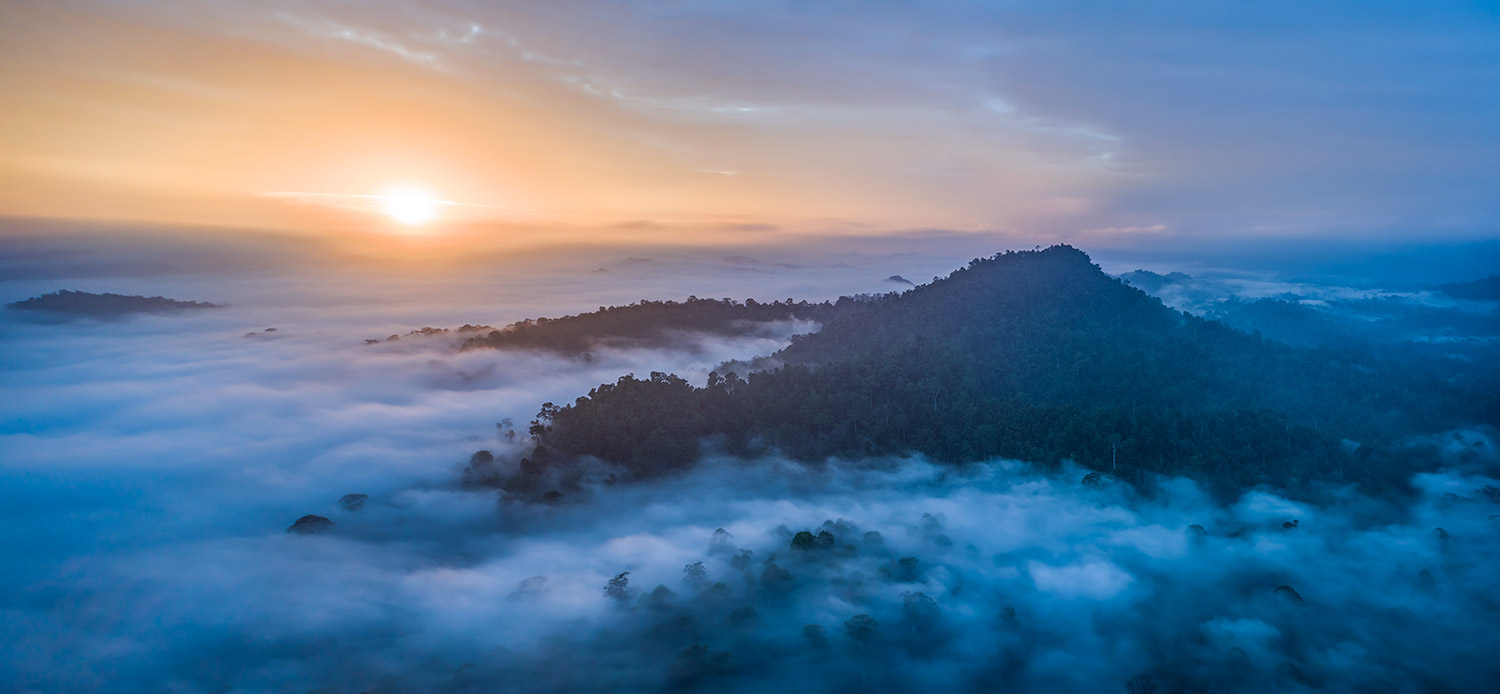
Drone photography is an ideal solution for getting above the clouds. When I was photographing in the rain forest of Malaysian Borneo, I awoke every morning to fog. So, I simply flew my drone high enough to get above the fog for stunning sunrise photos.
Be on location at sunrise for the best light and color.
Although above-the-clouds conditions can occur at sunset, they are most common at sunrise. The best light is when the sun is low on the horizon, but still above the clouds. Right after sunrise, when the sun just begins to crest above the clouds, is when the light show begins! Start by capturing the moment when the sun first peeks above the clouds, using a small aperture (such as f/16) to render the sun as a “star burst” (this works best if you are using a wide-angle lens). A two-stop graduated neutral density filter can come in handy to balance the exposure between the bright sky and the clouds still in shadow.
Related article: How to Create a Starburst Effect
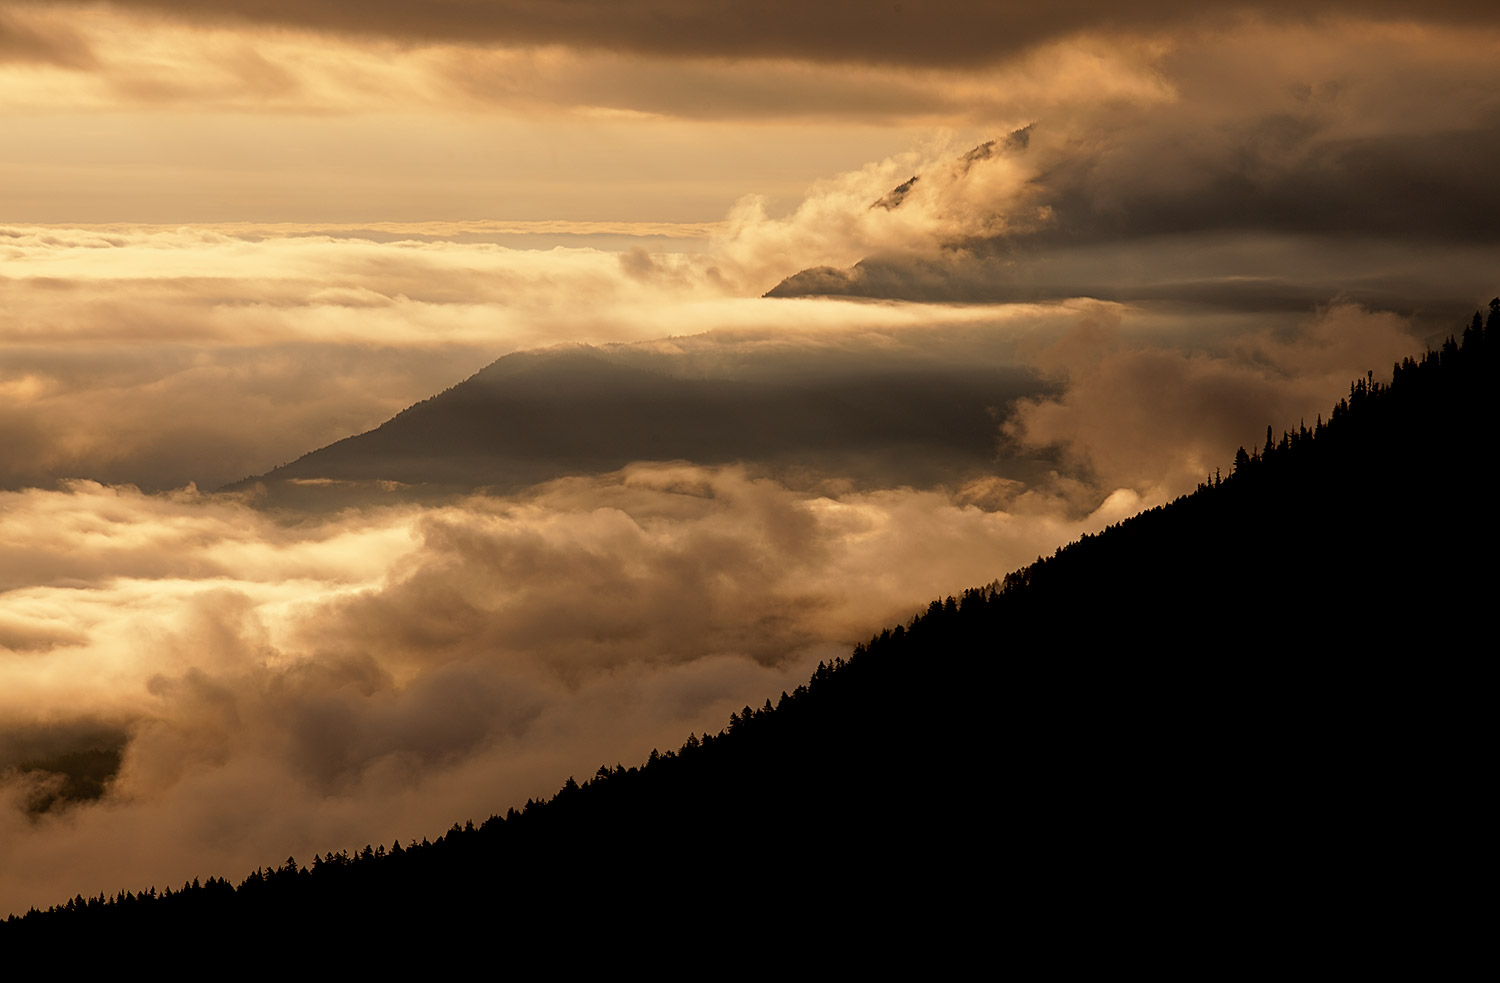
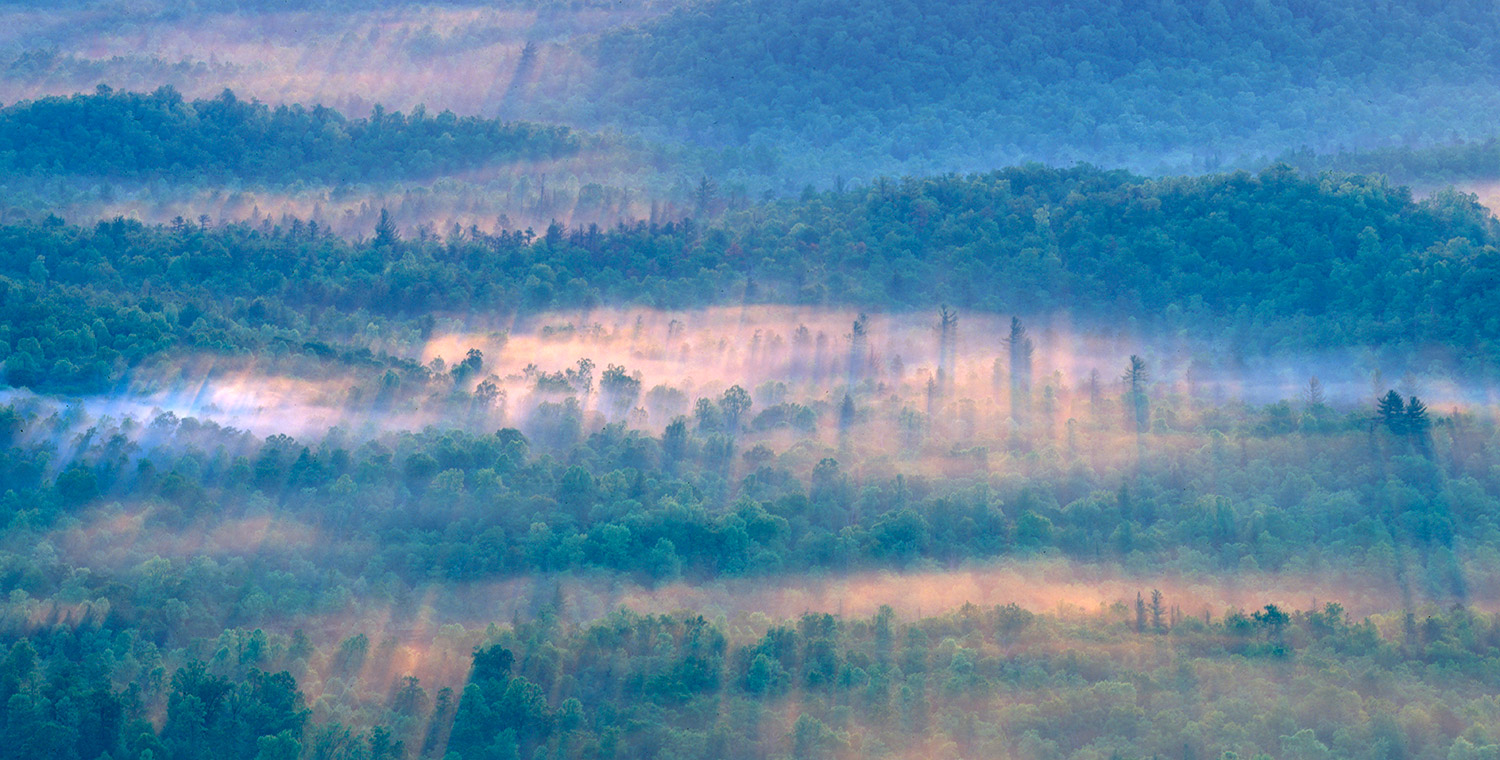
As the sun climbs higher, look for opportunities to photograph clouds back-lit by the rising sun. Avoid flare by shading your lens with a hood or your hand. Backlit clouds will take on an intense red or golden color early during sunrise, with the light getting increasingly more neutral in color as the sun rises higher in the sky. Look for opportunities to juxtapose clouds lit by the sun with areas that are still in shadow. Also keep an eye out for interesting lighting effects caused by the sun breaking through the clouds, such as sun streaks and rays. These effects can occur when cloud cover is light (such as a light ground fog), or when clouds are breaking apart and dissipating.
Mix clouds and landforms for the most compelling compositions.
If you have interesting foreground features, consider using a wide-angle lens to juxtapose near elements with the broader sweep of the landscape in the background. Many above-the-clouds scenes, however, will require the use of a normal to short telephoto zoom lens. Zoom in on the most colorful clouds, and look for interesting shapes and patterns in the clouds to juxtapose against land forms. Look for mountain crests rising above the clouds forming “islands in the sky.” If you have more than one mountain top poking through the cloud canopy, then you can create a composition that relies on the resulting repetition of shapes and patterns.
Related eBook: Composition: A Visual Flow by Ian Plant
Use long exposures to creatively blur moving clouds.
Depending on how fast the clouds are moving, exposures of several seconds to several minutes may be necessary to blur the movement of the clouds. If clouds are moving at a slow crawl, several minutes might be necessary. Use small apertures, low ISOs (such as 100 or 50, depending on how low your camera can go), and light blocking filters such as polarizers and neutral density filters to achieve a long exposure. Also, shooting in low light can help you get long exposures, such as during twilight.
Related video: 3 Types of Camera Filters for Outdoor Photography
Experiment with different shutter speeds and review the results on your camera’s LCD screen until you find a blur effect to your liking. It is often best to avoid too much blur, as detail and texture in the clouds can be completely lost. A sturdy tripod and an electronic shutter release are necessary for any long exposure photography.
Conclusion
When working in moist, mountain areas, make sure you get up high for sunrise, especially if rain the day before or overnight is followed by sudden cooling. With luck, you’ll get a chance to capture beautiful photos above the clouds!
About the author: World-renowned professional photographer and Tamron Image Master Ian Plant is a frequent contributor to leading photo magazines. You can see more of his work and download his free photography how-to eBook “Essential” at www.ianplant.com.
Have something to add to the story? Leave a comment or connect with us on Facebook.


Definitely believe that which you stated. Your favorite reason seemed to be on the web the simplest thing to be aware of. I say to you, I certainly get annoyed while people think about worries that they plainly do not know about. You managed to hit the nail upon the top and alsxo defined out the whole thing without having side-effects , people can take a signal. Will probably be back to get more. Thanks
Excited to review